It's almost that time of year again ..Christmas parties and New Years Eve!!
Party Time!
The last posting dates outside the UK are the first week in December, so if you are thinking of getting a mask please make sure you order in plenty of time to avoid disappointment!
I have a great selection of handmade or hand decorated masquerade masks, each one is different and they are perfect for masked ball events, weddings and celebration parties, they are all suitable for teen to adult ladies or men ....some are unisex.
I have added a few pictures for you to see them or you can visit my shop over on Etsy!

Mermaids

Cogs

English rose garden

Winter wonderland

Romantic

Venetian style

Cities
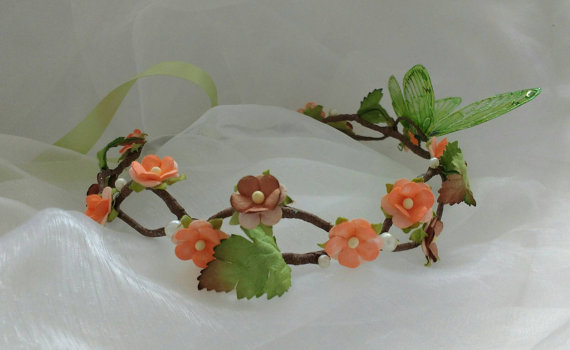
I also make hair wreaths and costume crowns ..if you would like to see those pop over to my other SHOP

Black crown


If you are familiar with Folksy I also have a little Shop there too!
Folksy has lots of beautifully handmade items and a fab community so definitely worth popping over to check it out!
Right then ...I'm off to the kitchen as it smells divine (hubby is making a carrot cake) so until next time ..take care! :)