Wednesday, 31 March 2010

Resin paper weight and jewellery

I posted my resin swap paperweight and jewellery off to Kate http://www.labourofloveonline.co.uk/ my swap partner.

I was pleased that the paperweight turned out ok as I had made it in case my main item didn't work, well it didn't so thankfully I had the paperweight to fall back on...phew! The only real problem with the paperweight is a small air bubble at the surface, I have covered it with a clear diamante to protect it, it doesn't look too bad either!


I thought I would do a seaside/beach theme as Kate had said that was one of her likes.


I did three layers starting with tiny beads, flat shells and pearls, the second layer had a larger shell and the third layer I coloured in a watery sea blue.


The jewellery was a lot easier, I cut a couple of circles of nice papers, painted over them with mod podge and when they were dry glued them into the base of the bottle top and topped with tiny accessories and then poured the resin into the bottle top.


I mounted a bail onto the back of the necklace, but drilled a hole into the keyring, I haven't done this before and was surprised at how easy it was.


I learnt a few things during this swap, so I have really enjoyed it, I just hope that Kate likes her things, especially as they are not quite the jewellery pieces that I had planned, sorry Kate! =)

Saturday, 27 March 2010

Felidae Cat Swap

I have finished my cat swap makes, wooohooooooooooooooooo!
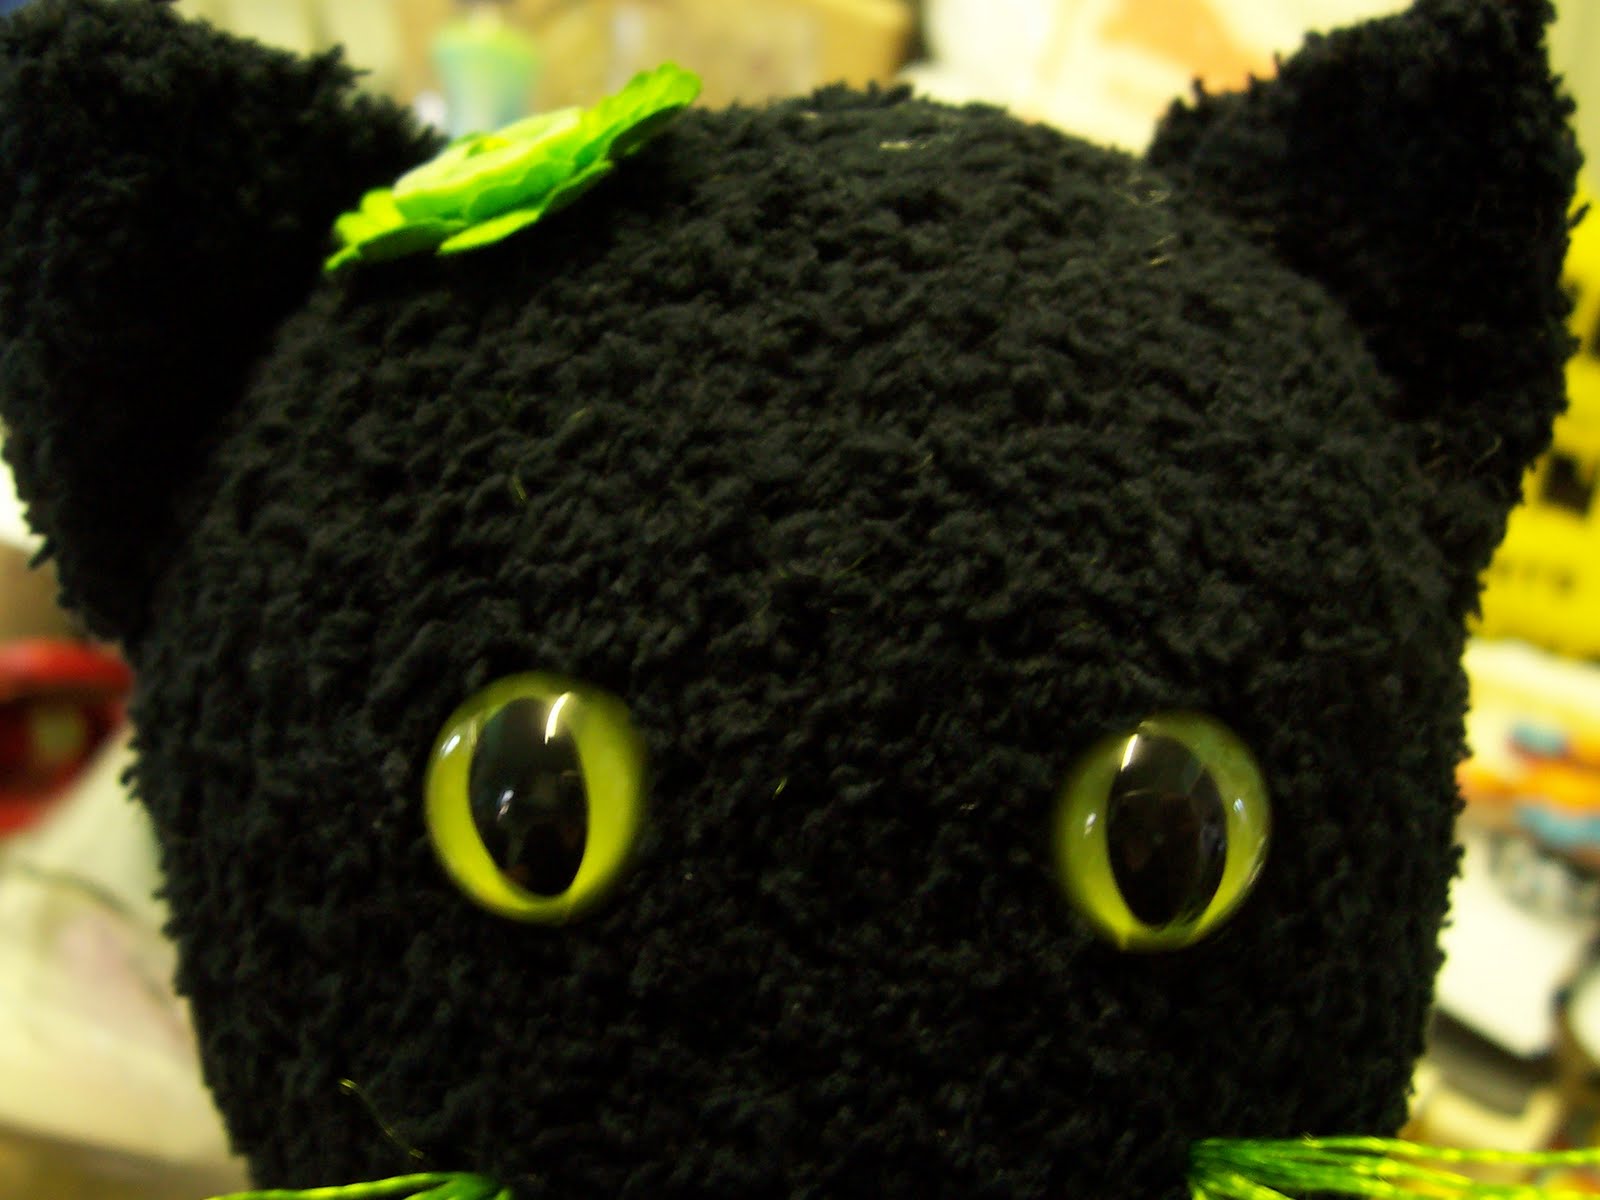
I decided to make a sock creature type cat thing! I spent all morning sewing, undoing sewing undoing, but have now finished.

The stuffing was quite difficult, lumpy bumpy and all that but I have managed to make it quite smooth. I used safety stuffing and safety eyes.

I don't want to show too much, but basicly it's just a feline type shapey thingy!, I hand sewed it because I'm not that good with my machine yet and this had really fiddely bits like ears and a tail!


I couldn't even get the safety eyes on straight, but it adds to the character. The sock was very soft and stretchy, so the feline type shapey thingy just got bigger and bigger, she wasn't meant to be so big, I was only making a little one, but I am pleased at her size and I think she is cute, hope my swapee likes her!
I won't show my other feline items that I am sending because I don't want my swapee to have her surprise ruined, so this is just a little taster.
I am really pleased that I have finished because I have never made anything like this before and was feeling a bit worried about how I would go about doing it, all I could find on the web was how to's on sock monkeys, so I just stuffed away at a sock and it really was quite easy in the end, the other sock was cut into ears and a very long tail that I ended up shortening.
I will show proper piccies later in April.
Bye the way...
I haven't copied anyone, just incase I get accused!
This is a brand new pair of socks from a well loved cheapy highstreet store, it's stuffed with safety filling and has plastic cats eyes (safety) and handcut, hand sewn ears, that are tatty-ish!
A cat is a cat, unmistakeable in shape and this one is my version, tatty whiskers n all!
In the mean time, ready for next weekend...
HAPPY EASTER everyone!

Wednesday, 27 January 2010

Resin Bracelets

I have been having a play with resin today, I bought a lovely chunky resin bracelet last year and a couple of weeks ago I took a mould of it with siligum moulding putty, it was great fun squiging it around the bangle but I had to work quick as it sets so fast.

Finally today, after GS went I actually started work on it. I have used "easy cast resin" but it takes ages to dry so I won't now for a day or so how it has turned out.
I have embedded glass pieces and am sure they will all sink to one side with todays "easy pour resin" but I don't mind, it's all good fun.

The good thing about the siligum mould is that I can re-use it quite a few times as it is so flexible.

Next time I will make the bangle with two layers of resin so that my glass pieces sit more in the middle, will post my catastophe's later so watch this space!

Here are a couple of bangles that I have did last year, the clear one has tiny watch parts in and I love the way the layer looks thin at the edge but from the top it looks all magnified.
The green one has glitter and tiny star sprinkles and is coloured with glass paint, I didn't stir it into the resin as I didn't want full colour, so I just dipped a cocktail stick into the colour and swirled it about at the edges.

Wednesday, 9 September 2009

Wet felting tutorial

Today I have been wet felting a little bag, purse, pencil case? Don't know what it is really but it has turned out just as planned, which is good!

I chose chocolate and blues mixed and cut or pulled them into the lengths I would need.


Firstly, I put a mat down with a piece of bubble wrap over and then layered my wool over the bubble wrap, pulling it apart gently.

Then I did the same in the opposite direction, I repeated this four times making sure I went in the opposite way each time.

I then popped it into the bath and poured some soap flakes on and added some warm water.

I put another layer of bubble wrap over the top and massaged and rubbed in circular movements to get the soap and felt all lathered up.

Firmly but carefully I massaged and rolled the felt until I was sure it had shrunk away from the edges and knitted itself together.


Pull it gently to check that it is strong, if it is still pulling apart carry on with the process for a while longer.


Then rinse the felt carefully in luke warm water until soap has gone, squeeze gently not wringing, do a final rinse in water and white vinegar, just to make sure soap is completely rinsed away.


You now have to scrunch the felt into a ball shape and sling it hard at the sink (I love this bit!), do this several times until all nicely shrunk and firm, then you can roll in a towell to remove excess water, stretch out gently to get the shape back and leave to dry flat.


While this was drying I made some small felt balls to embellish the finished project, you do all the same thing really but in the palm of your hand.

Take a piece of wool, add soap and massage in a circular movement in the palm of your hand, dunk the ball in hot water and carry on rolling in the palm of your hand.

You will feel the ball get firmer and when you are happy with the size, rinse the soap away and press onto a towell to remove water, leave to dry.


When everything is dry it is ready for your project.

I made a pouch bag lined with gorgeous cute owl fabric and embellished with felt balls and beads, this is for my friends birthday, I will stuff it with chocolate and then she can use it for anything she likes, make-up, pencils whatever.


Wednesday, 15 July 2009

Pencil Sketches

My hubby (Chris Elliman) has been doing kind of quirky sketches recently, so I thought I would have them made into greetings cards and I am really pleased at how they have turned out.
He has used quality artists pencils and cartridge paper and the drawings really have a lovely depth and smoothness to them.


Hubby is quite impressed to see his artwork in the form of a greeting card and has allowed me to put them for sale in my Etsy shop http://chaoticfusions.etsy.com/ WHOOP!


The cards are blank inside, so are suitable for most occasions and would be great for any animal lover young or old.

Wednesday, 1 July 2009

Hot Dog!

Poor Woody is not enjoying this hot weather, plus he is poorly and on anti-biotics.

He was having his usual walk, run, go crazy in the field bit of fun, when he decided to be nosey down a rabbit hole, I don't think that rabbit was very happy and must have shoved something up Woody's nose! He keeps having very bad sneezing fits which are making his nose bleed.

The vet said it could be a seed or even rabbit poo!

Anyway, he now has a bad build up of mucus and isn't allowed out for a run, just a slow stroll.

Slowly does it then Woody for a whole week! You poor thing!


Anyway, here he is with his head under the table, stands there for ages like that, silly doggy!

Sunday, 28 June 2009

Woody

Here is my dog "Woody", caught on the arm chair having a sneaky comfy five minutes, naughty boy!


Don't give me that sad eyed look either, it won't work! Well......not all the time :0)

Monday, 2 March 2009

Woody

Well, Woody is settling in really well, he seems right at home and it feels like we have had him for years.

He is a great dog, very loving and playful, but.........................he has terrible wind! pooh!
And they are not silent but deadly, but very loud and deadly!


He likes to watch us through the kitchen door, as he stands there, he sticks his face against the glass and slides his nose upwards revealing his teeth, it's very funny!

If you have a good tip on "doggy wind", please leave me details. I have been told to give him a spoonful of natural yogurt everyday, so that is something I will try. We feed him complete dog food and don't spoil him with leftovers!
He's gaining the name "farting ninky nonk"!